
I just made my own custom follow buttons for Facebook, Twitter, Pinterest, and Bloglovin’ yesterday, so here is a little tutorial to help you create your own!
I searched for hours for a good tutorial on how to customize buttons and badges, but I didn’t turn up anything that explained it well. I had almost given up hope, but somehow when I was playing around with the HTML from one of my previous (and pre-made) Twitter follow buttons, I made it work! Perhaps I am a little too excited about this, but it is so much more simple than the online tutorials would have you think. I am going to go through the process very slowly for those of you who have little familiarity with Photoshop or HTML.
First, lets start with the fun part: CREATING!
Begin by opening a new blank file in Photoshop. I have Photoshop Elements and it works just great (and it is a lot cheaper!) Size it to 100 x 100 pixels. You will re-size it at the end to a smaller size.


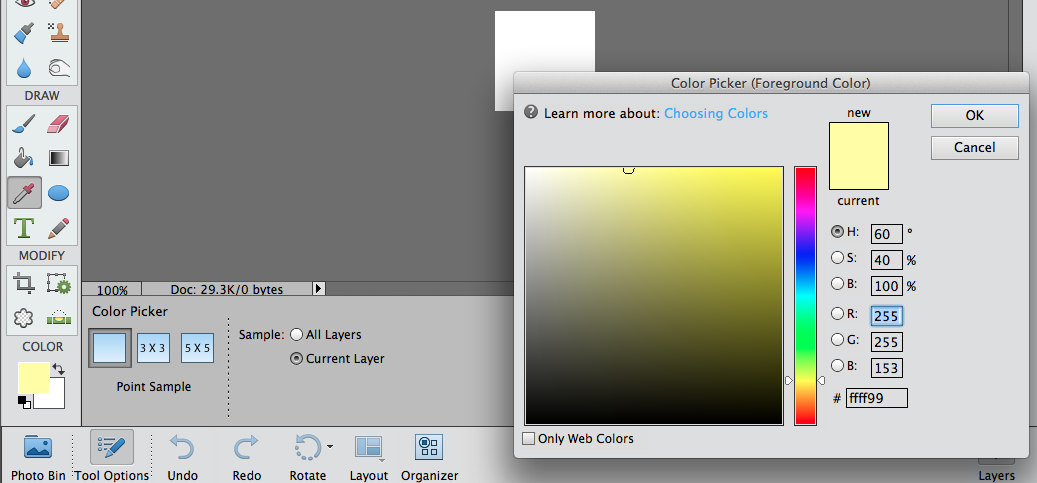
Then choose a background color that suits the theme of your blog. I chose yellow for the example.
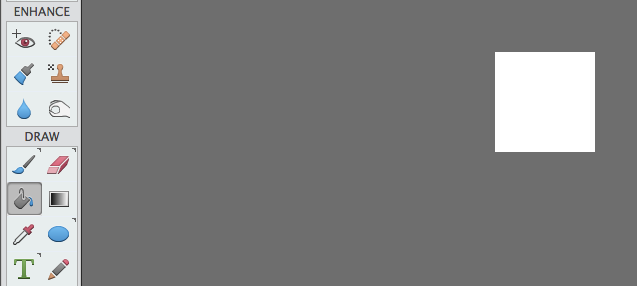
Click into paint bucket and then click your blank image to transfer your chosen color.
Zoom in a couple of clicks. This makes it much easier to see the detail of your design.

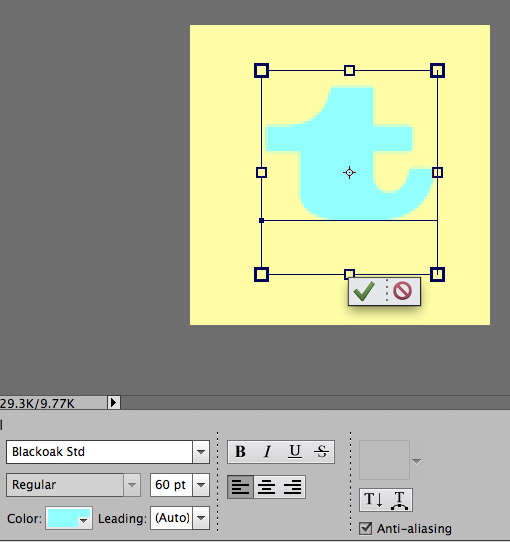
I am going to show an example of a simple Twitter design. I used the brush tool and painted the bird for my own personal Twitter button (which you can do quite easily) but I will use text for the example.
Choose a new foreground color that complements your background.

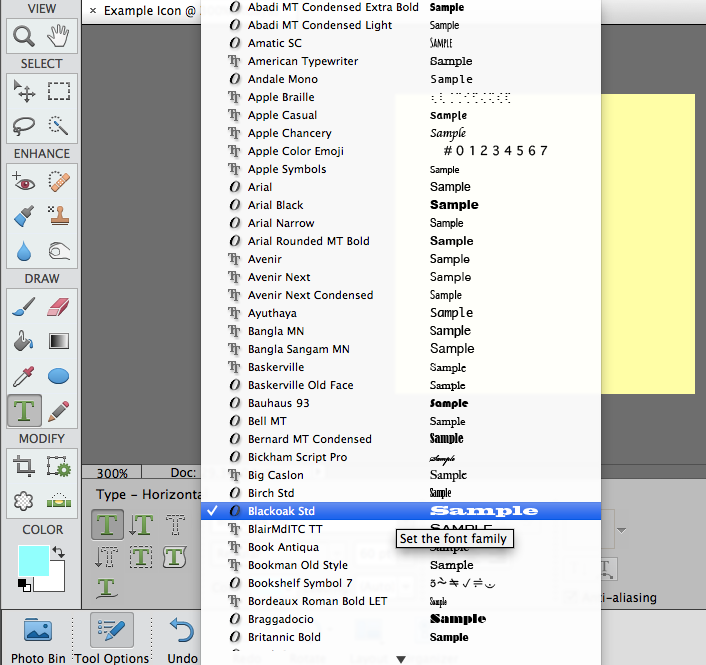
Then choose your font and type the letter you want. Reposition it until you are satisfied with the placement.
You can keep it as is, or continue editing it. Here I choose to use the Lens Flare effect.

Play around with designs that suit your aesthetic, or try out new effects. Then re-size your image to 50 x 50 pixels and save it (I prefer jpg).


Lastly, upload it to Photobucket and copy the direct link on the right side of the page.

Now you are ready to imbed your custom follow button in the widget area of your website or blog!
I put mine in my sidebar by moving an empty text box (which holds random text or html) into the sidebar and entering the needed HTML.
Below is the HTML that I wrote for a custom follow button. All you have to do is enter your own information into the sections in quotation marks. For those of you unfamiliar with HTML, it is important that the quotation marks are not deleted from the script.

So if I want to use the image I just created above for my Twitter follow button, the HTML would look like this:

Below are the pieces you need to put your own script together. Just copy and paste them as you build your custom badge!
<a name=”
” href=”
” title=”
“><img src=”
” alt=”
” border=”0″ /></a>
Simply save your HTML and visit your website to admire your new one-of-a-kind follow buttons!
Here are the new ones I made for Lilbo & Gnomie:

Cute right?
I hope you enjoyed the tutorial. If you have any questions about my process please leave them in the comments and I will get back to you as soon as I can.
Xoxo,
Lily

Thank you been looking for something like this, hope I can make it work 🙂
Good luck! I had lots of fun making these. Let me know if you have any questions!
Xoxo,
Lily
Thank you so very much! It was super helpful. 🙂
Very cool! One question though: how do you code it so you can have 2 or more buttons right next to each other?
Add a space code with this: Thanks for stopping by!
I know you wrote this ages ago but I LOVE the tutorial and you’re the first one I’ve found that uses Photoshop Elements which is what I use too! 🙂
So glad you enjoyed it!