We are back from a little break and excited to begin posting again!
I wanted to share this simple sweater restyle project since it turned out even better than I had expected.
Materials:
Old sweater
Cute trim/collar/lace (I used some vintage embroidered trim)
Needle and thread
Scissors
Straight pins
Optional: Sewing Machine
For those of you who have a machine, I suggest using it since it is faster. However, you can hem the sweater by hand as well.
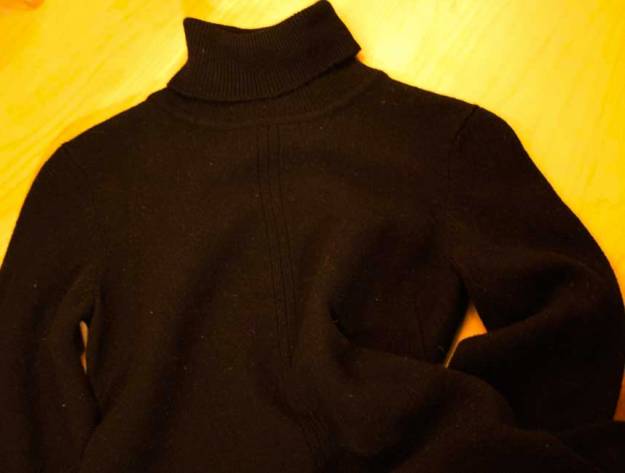
I started with an old sweater that had been mistakenly tossed in the dryer. These are great to use since the fibers have been felted together a bit.
Here is what I started with:
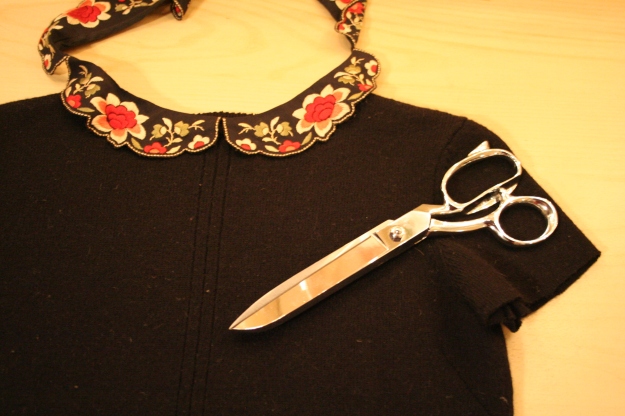
Begin by cutting out the neck area or removing the turtleneck as I did. Be careful to keep a small neck opening so that the end result will stay on your shoulders.
Then cut the sleeves to the length that you like leaving about 1/2 an inch extra so that you can hem them.
If you would prefer the sweater to be shorter than it is, try it on to find the spot where you would like it to end, add 3/4 of an inch for the hem, and put a straight pin in it so that you know where to cut. I used a ruler to help cut the bottom evenly off my sweater.
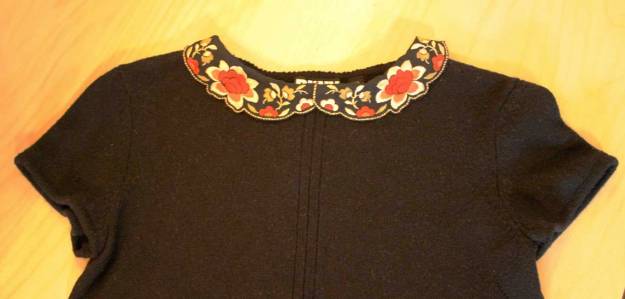
Now play around with the trim/collar/lace you have chosen and figure out how you want it to look. I decided to have the trim I chose only be in the front since it is large enough to be the size of a peter pan collar.
Then pin the trim to the sweater and sew along the inside using a back-stitch. This part I did by hand since it is delicate work.
Once the trim is attached you can stitch some twill tape along the back of the neckline if, like me, your trim is predominantly in the front. This prevents any fraying that might happen with wear.
Turn your sweater inside out and fold the 3/4 hem along the bottom (if needed). Pin it in place using straight pins and then zigzag stitch it on a small stitch setting with the machine, or stitch by hand using back-stitch.
Repeat this on the 1/2 inch sleeve hems. These can be a bit tedious and will take a bit of patience if you are hemming shorter sleeves.
Cut off any loose threads and turn your sweater right side out. Now you have a cute and comfy collared shirt!
I hope you enjoyed the tutorial. I will be posting more DIY restyle projects in the coming weeks.
Xoxo,
Lily


omg your shoes are gorgeos