I am so excited to share this project with you all. These shoes were lots of fun to create!
I used vintage (mostly 1950’s) advertisements to decoupage my shoes, but you can use whatever you want. Here are a few ideas: newsprint, comic book pages, sheet music, pages from your favorite novel, magazine cutouts, artwork, or scrapbook paper.
Hope you enjoy the tutorial!
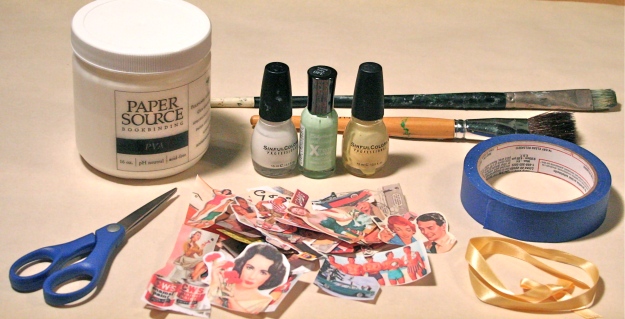
Materials:
Pair of shoes
Paper decoration of your choice
Polyvinyl acetate adhesive (PVA) or Mod Podge (it must dry clear!)
Nail polish in coordinating colors
Scissors
Stiff brush for painting paper pieces
Soft brush for sealing the whole shoe
Painter’s tape
Ribbon
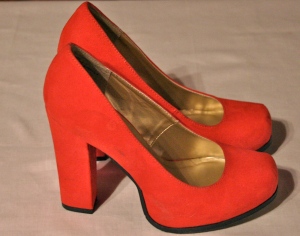
Here are the shoes I started with:
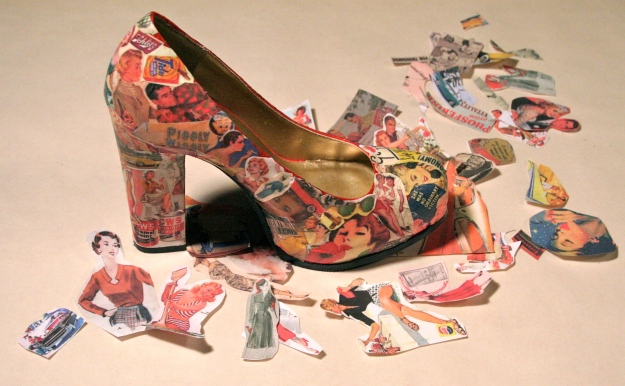
Begin by cutting out the pieces of your chosen design that you want to put on the shoe. Play around with the placement of your images before you start gluing. I chose some pieces for the toes, outsides, heels, and backs of my shoes that I wanted to feature, and worked the rest around my featured images.
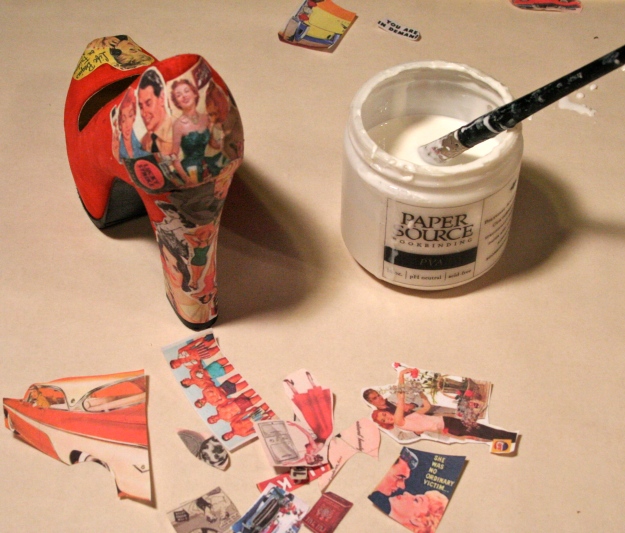
Once you have some idea of placement, begin painting the backside of your images with the PVA using a stiff brush, and apply them one by one to the shoe. I suggest starting at the back or inside of the shoe so that you get a bit of practice gluing and placing before you move on to the more visible areas.
This is a pretty messy and time-consuming process, but the end result is worth it! Keep on gluing and applying until you have covered your entire shoe. If you are not satisfied with some of the image placement, you can paste other images over the ones you dislike. The finished result should look something like this:
Let the shoe dry and begin working on your second shoe. Then paint over the entire shoe with the PVA using a soft brush. Make sure it is not too thickly painted, and try to keep it even. Then let it dry.
Repeat this process with the second shoe. It is best to wait a full 24 hours before painting another layer of PVA over the shoe to make sure it is well sealed. Otherwise the first layer will not fully dry, leaving the end result cloudy.
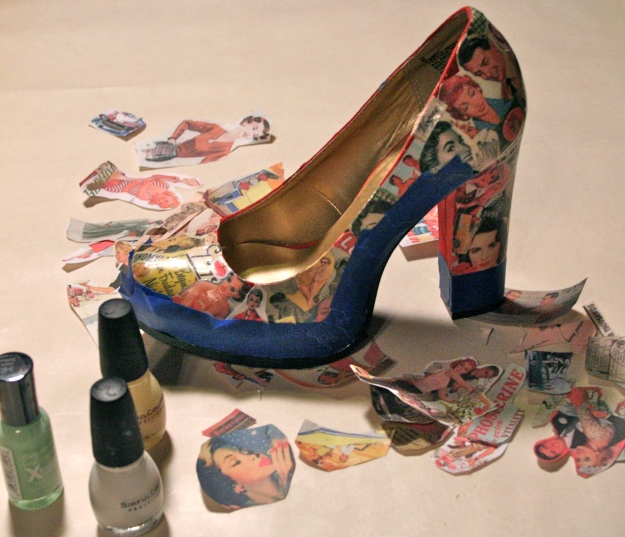
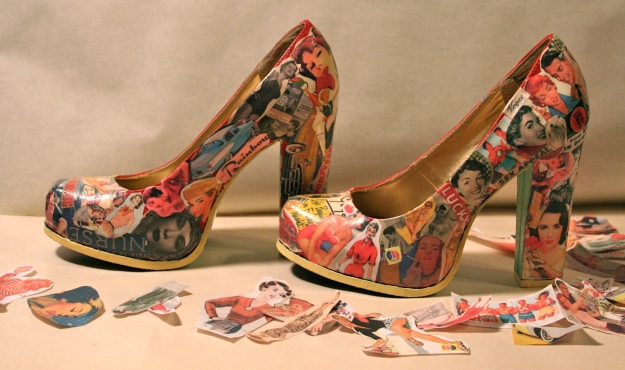
Once your shoes have dried after the second coat of PVA, you can paint the edges and underside of the sole and heel with nail polish. Use the painter’s tape to tape along the edges so that you don’t ruin your new design.
Paint as many coats as you want, making sure to let the polish dry between coats. I used pastels, so I painted a coat of white along the black edges and red undersides before painting over them with yellow and mint green. I used the pale yellow for the outer edges and the mint for the undersides. Once the polish is dry, pull off the tape and admire your work!
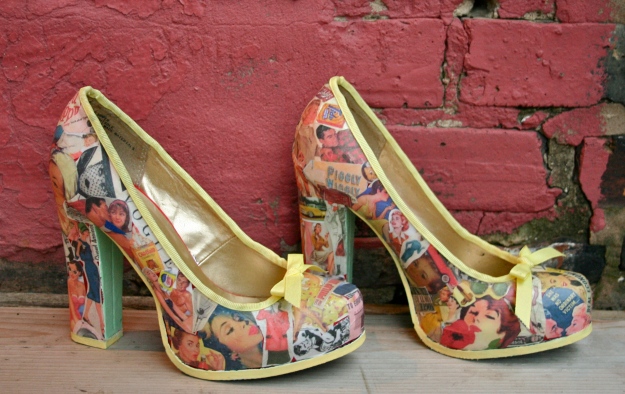
Next cut a length of ribbon for each shoe that can fit around the entire top edge, and add about 8 inches for the bow. Since I used grosgrain ribbon, I ended up having to use Yes glue instead of the PVA because the ribbon is so thick. If you are using satin ribbon, the PVA or some Tacky glue should work fine.
To get a good curve in your ribbon (to avoid puckering), use an iron to press the ribbon into shape. Grosgrain ribbon does not curve well from my experience, so it can be a bit more tedious to work with.
Paint the glue along the top edge and fold the ribbon around the glued area starting in the back. Once both sides of the ribbon are glued down with the ends in the front, tie a bow and trim the ends. Make sure the bow is secure, and then let the shoes dry.
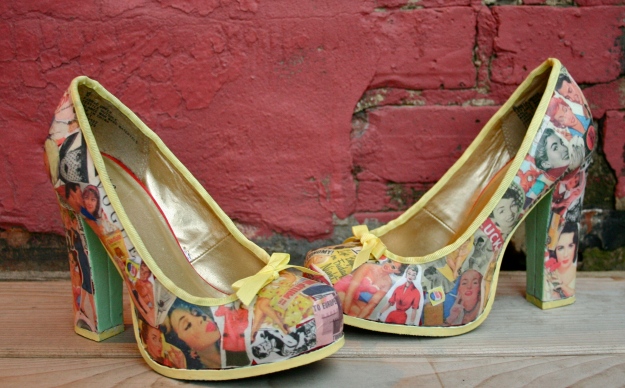
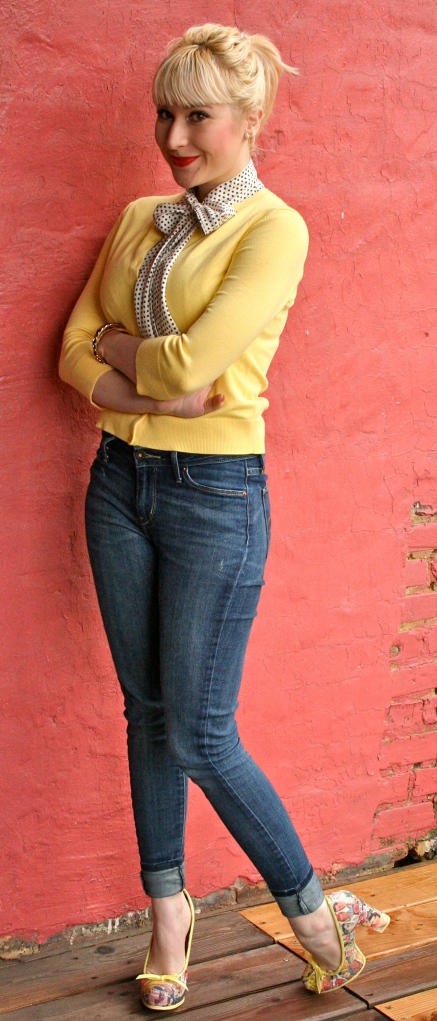
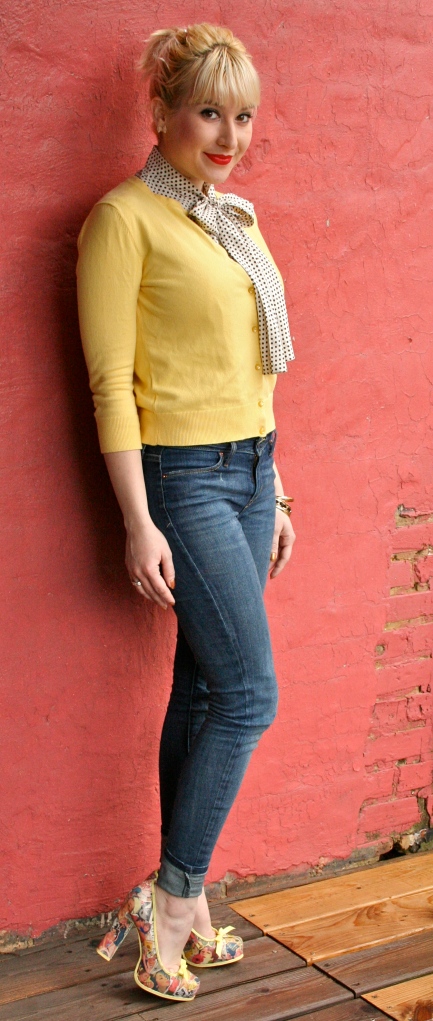
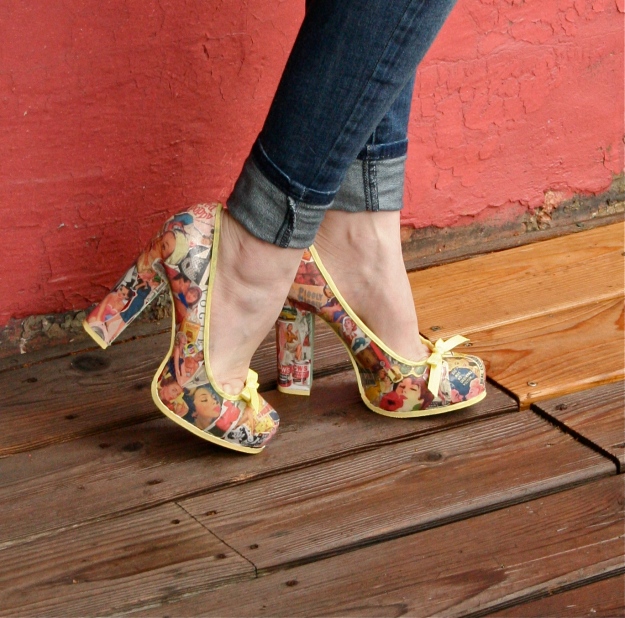
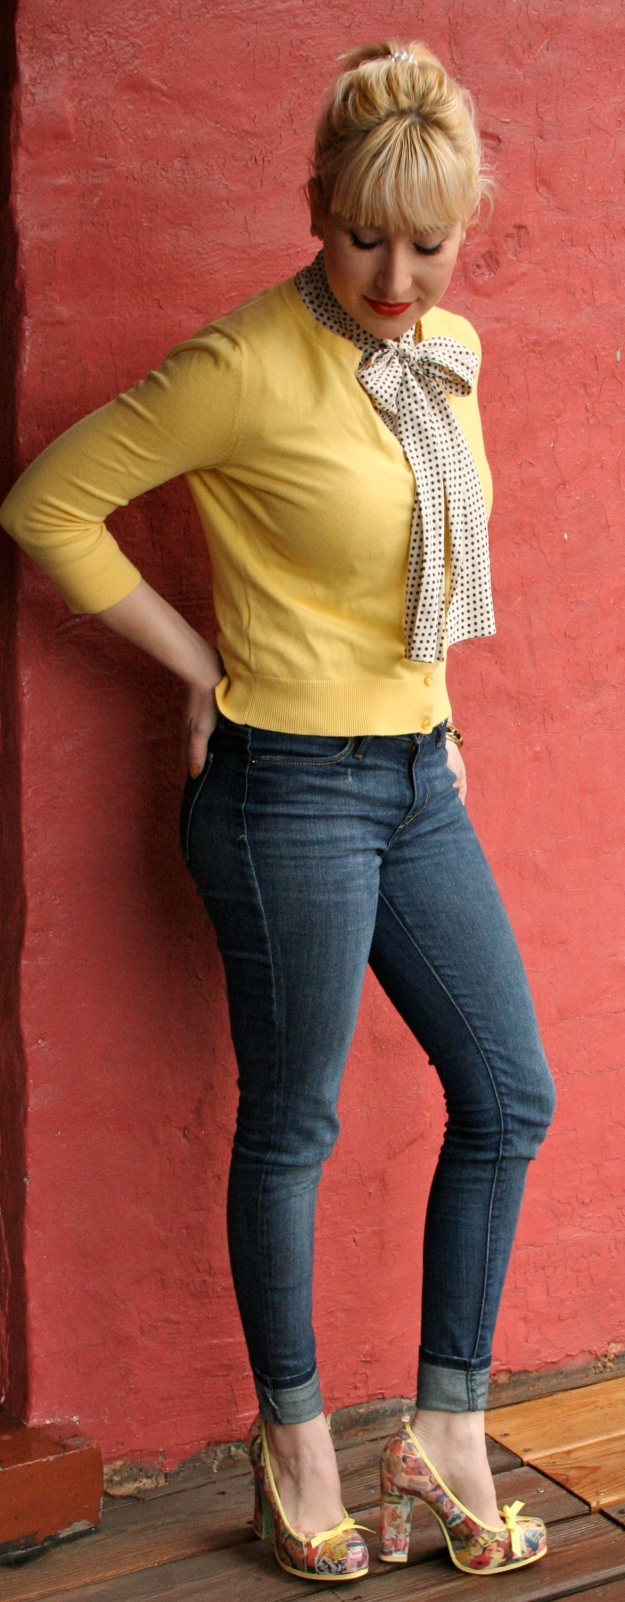
Voila!
Now they are ready to wear!
I paired mine with some jeans and a vintage top.
These will be getting a lot of wear come spring!
Have fun creating your own unique pair!
Xoxo,
Lily

I love these! This will have to be added to my list of DIY projects to try.
They are so retro. Really like it 🙂
Thank you! And thanks for visiting my blog!
xoxo,
lily
Where did you get those shoes from? Would like to try this but prefer chunk heels.
I got these on sale at target. H&M sometimes has great chunky heels or F21!