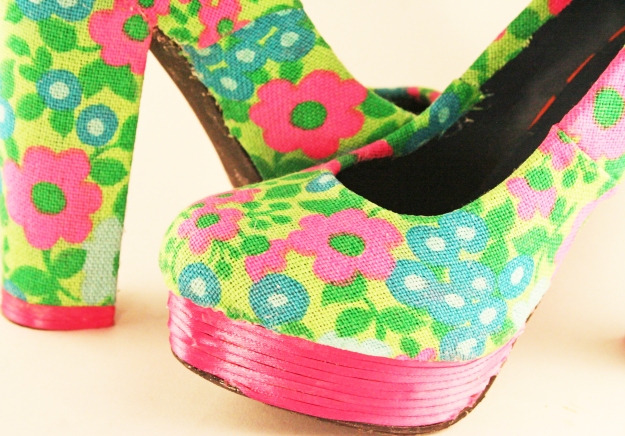
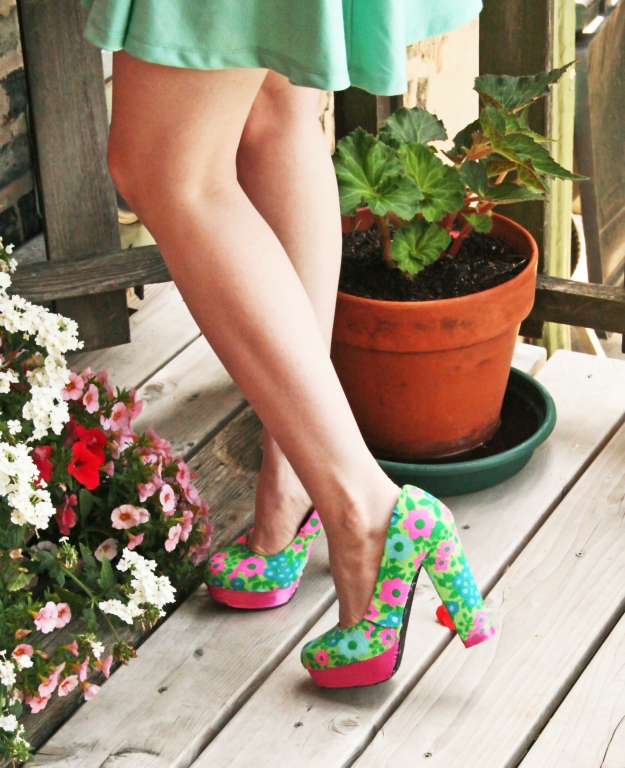
Here is an easy DIY that will breath new life into that pair of heels collecting dust in your closet. I had a pair of platforms that weren’t getting much use, so I decided to kick them up a notch by re-covering them in some fun vintage fabric. Now they are perfect for summer!
The fabric I used is very loud, but you can use any fabric you like. Remember that patterns like polka dots or plaid will be hard to match up when covering your shoes.
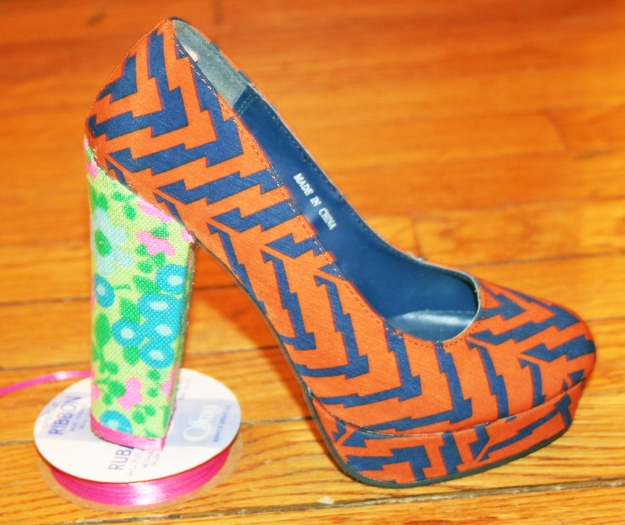
Here is what I started with (can you tell that I love crazy shoes?):
Materials:
- Pair of heels
- Fun fabric
- Modpodge or PVA
- Thick paint brush
- Ribbon
- Scissors
If your shoes are patent leather, I would use a nail buffer or some sand paper to rough them up so that the fabric will stick better.
Begin by cutting a piece of fabric that will fit around the heel. Make sure to leave some extra since you will be folding the edges under to give it a clean look.
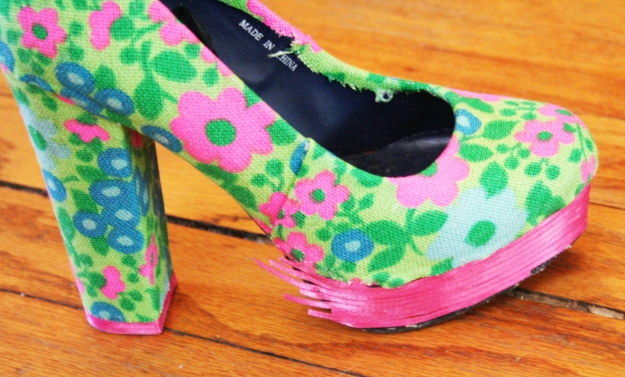
Then paint the heel with PVA and adhere the fabric. Fold the edges in, paint with PVA and smooth them down to the edge of the shoe. I used a bit of ribbon at the heel so that it would match the platform. Just paint the along the plastic of the heel tip and wrap the ribbon around it.
Play around with your fabric until you find the right placement. I covered my shoe in two sections starting with the back.
Simply paint the area with PVA and adhere the fabric. Since the shoe is curved, there will be little pockets where the fabric doesn’t stick. Once you trim the fabric and fold and adhere the edges, these will disappear.
Make sure you are leaving yourself enough fabric when you cover the front of the shoe. With a little tugging, the fabric will become flexible in the glue so that you can pull it tight.
The front is the most tedious, but once you get the fabric trimmed and the edges folded in and adhered, it will look great!
Always make sure to leave some extra fabric at the top to fold over and inside the shoe. This will keep the fabric from fraying or peeling off.
Now you can paint the platform with PVA and apply the ribbon. You can also use the fabric you are using.
If you are using ribbon, I suggest doing it is strips one at a time. No need for pre-cutting, just pull from the ribbon roll, adhere, and snip. Then repeat.
Use your scissors or a knife to trim the extra ribbon and make sure all the fabric is secure. Let them dry over night, and they will be ready to wear!
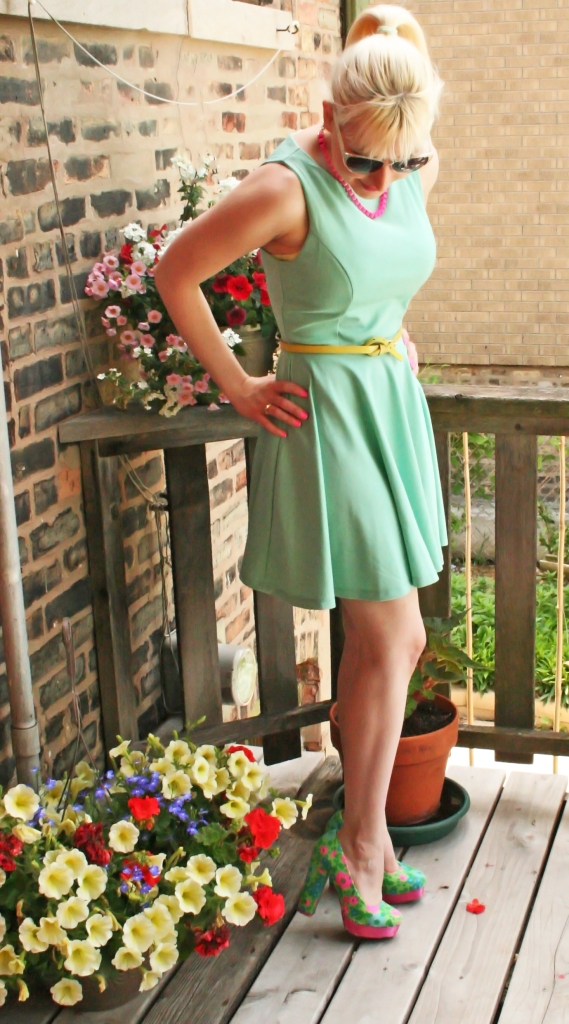
I will be pairing mine with breezy dresses, fitted skirts, or even shorts.
Enjoy and happy summer!
Xoxo,
Lily


